What you need for shellac at home
Manicure in 2016 should be durable and comfortable. This is what modern manicurists think. Technology such as shellac falls under these criteria. What are the features of shellac? Can you apply it to your nails yourself at home? And what you need to do? You will find answers to all questions regarding shellac in this article.
Features of shellac
It turns out that shellac is a cross between nail polish and a gel extension product. Thanks to the qualities of these two products combined in one, this product is gaining increasing popularity among lovers of long-lasting manicures.
What are the features of shellac? Let's look at its main advantages:
- The coverage lasts for two weeks.
- The shine doesn't fade.
- No scratches are left on the surface.
- Strengthens natural nail plates.
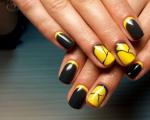
- A varied color palette of shades - more than 70.
- Does not cause harm to health.
But there are still some disadvantages of this technology:
- high cost;
- a large number of constituent components;
- Without certain skills, the application procedure at home is quite labor-intensive.
Unlike the gel nail extension procedure, shellac technology involves applying a coating similar to applying varnish, moreover, this composition hardens only under the influence of the rays of a special ultraviolet-emitting lamp. Therefore, it is most convenient to do such a manicure in a salon, trusting a qualified manicurist.
 Many experts recommend using not only special cosmetics, but also professional tools to apply shellac on your nails at home. Let's consider in order what tools need to be prepared for this procedure:
- Buff, or polishing block for polishing the nail plate before applying shellac - optimal dimensions 9x3x3.5 centimeters.
- Nail file for processing the edge of the plate at the preparatory stage - with medium-level plasticity, abrasiveness - 80/100.
- Lint-free wipes for removing the sticky layer - made of soft absorbent material, non-toxic, non-irritating to the skin, with an optimal size of 5.2 x 4 centimeters.
- Foil for removing the surface layer of varnish – up to 9 centimeters long.
- UV lamp for drying layers applied to nails - with a power of 36 W or more, with low heat generation, with synchronization functions and a built-in timer, preferably using substances that are harmless to humans, small in size, fairly light weight, easy to operate.
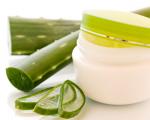
In addition to shellac tools, you need to buy the following cosmetics:
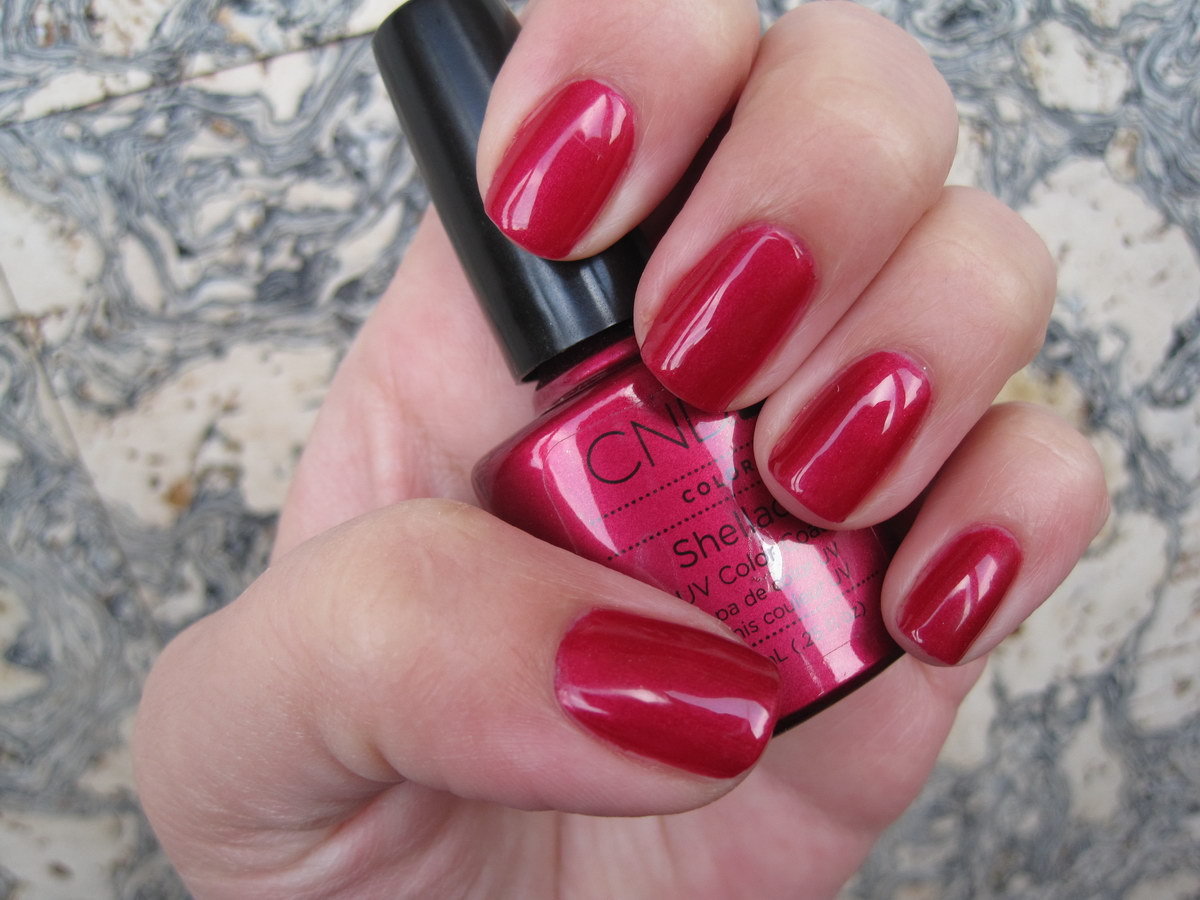
- Shellac color is a colored gel adhesive with UV radiation, which is based on organic substances (can be identified by smell - almost no smell), with a dense texture.
- Shellac base - applied before the main color gel coating.
- Finish shellac, or top, is used as the last fixing layer, perhaps with an effect that accelerates drying.
- Degreaser - this product is needed to remove excess applied product or wipe it off if it gets on the skin (can be prepared at home from a 70% solution of medical alcohol).
- Primer for priming the nail plate - you need to take an acid-free version, which is suitable for drying in a UV lamp, has a pungent odor, but has excellent adhesion properties to the natural nail.
- Liquid for removing a layer of shellac (applied to the foil before wrapping each nail separately).
The master in the salon will have the listed components and tools, but to apply shellac at home, everything you need must be purchased either in specialized cosmetic stores or via the Internet.
You can look for tools at home, so a set for a regular dry edged manicure is perfect. In addition, if there are no means to remove such a manicure, it can be cut off with a nail file. The 36 W UV lamp is often replaced LED- a 9 W lamp, the drying effect is almost the same.
The nuances of applying shellac at home
 When performing the procedure for applying shellac on nails at home, you need to take into account some nuances that manicure specialists pay special attention to:
- even, precise and accurate application of all layers (due to the too sticky and viscous consistency, it is this stage that causes the greatest difficulties for home-grown manicurists, especially with bright colors);
- the duration of work at home is not forty minutes, as in salons, but about two hours;
- for better durability of shellac, the procedure is best done twice in a row, and correction should be done every two weeks;
- a break is necessary to rest “your” nails (after all, any product has an effect on the nail plates, and even high-quality products can cause harm);
- to remove shellac, you need to purchase a special liquid (acetone substitute) in combination with foil, otherwise traces visible to the eye will remain on the nails - colored stripes, tiny remnants of the base layer, an uneven surface of the plate, which will have to be sanded with a small nail file;
- You need to immediately purchase a duplicate varnish, since no one’s nails are insured against mechanical damage, for example, chips. In order not to remove the coating from the entire plate, a drop of duplicating varnish of the same color will be enough.
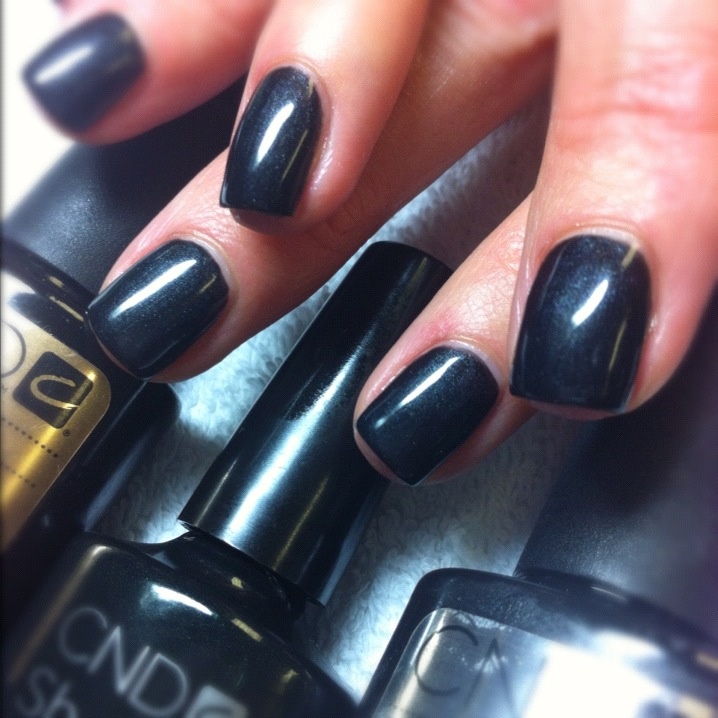
But if shellac is applied correctly, even when done at home, such a manicure will last for at least a week.
A little about shellac manicure technology
For those who decide to apply shellac themselves at home, experts advise going to a nail salon for the first time and taking a closer look at the work of the master. This technology includes several main stages.
- First stage: preparatory. Treatment of the cuticle and nail plate, which is given the desired shape (you need to make sure that there are no auxiliary means left on the nail for processing the cuticle and dust, since the manicure will be uneven). Degreasing with a special agent and applying a primer (to improve adhesion), with a natural drying period.
- Second stage: base coat. It is applied in the same way as regular varnish, with additional coating of the end of the plate. Dries in a lamp for up to two minutes, without removing the sticky layer.
- Third stage: color coating. The base is covered with a very thin layer of colored shellac and dried in a lamp (two minutes) with repeated application and drying. If you want a translucent shade, then a second coat of color is not required.
- Stage four: consolidation. The top should be applied in the thickest layer, without streaks or cloudy areas. If this has already happened, you will have to remove the layer of shellac and repeat the procedure from the very beginning.
- Fifth stage: final. It is necessary to remove the top sticky layer, for which a degreaser is used.
The quality of shellac is checked quite simply: if after the fifth stage the coating on the nail plate has not wrinkled, cracked or burst, then the procedure at home has been completed successfully.