How to quickly remove shellac at home
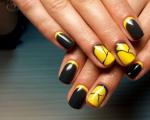
Many women are well aware that the condition of their hands and manicure speak volumes. That is why they prefer coating their nails with gel polish. The so-called shellac, applied in a salon by a professional or at home yourself, can last at least 2-3 weeks without chips, cracks, scratches or peeling. However, sometimes the situation develops in such a way that the coating grows back, looks untidy and ugly, but there is no opportunity to go to a professional. In such cases, you can remove Shellac yourself, but you need to follow some recommendations to ensure that your own nails remain attractive and healthy.
How can you remove Shellac at home?
There are several means by which shellac can be removed at home. The first and simplest option is a fine-grained file. With its help, you will need to methodically file away the resistant coating until the native nail is “revealed.” It is worth mentioning right away that this method is intended for the most patient and assiduous. After all, removing gel polish will take a lot of time. There are other, more effective and less labor-intensive options. So, Shellac can be removed with acetone, a special product, foil, and special napkins.On a note! Some people try to remove shellac with alcohol, but, as a rule, this method practically does not work.
How to remove shellac yourself?
Photos and videos will help you remove stubborn varnish with minimal damage to your own nail plates. The main thing is to follow all the tips, and as a result, your hands and nails will look quite decent.Removing shellac using foil and nail polish remover
You can remove shellac at home even without special tools. If you follow all the recommendations given below, there will be no trace of an unsuccessful manicure, your hands will be neat, and your nails will be quite healthy. The removal procedure is simple and does not take much time.Step 1– Removing gel polish should begin by cutting off the top using a coarse file. Many salon technicians also do exactly this when they start removing the old coating. At this stage, it is important to thoroughly go over the entire surface of the nail plate, carefully bypassing the cuticle area.
On a note! The better the top varnish is cut, the more efficiently and quickly the shellac can be removed.Step 2– Once your nails are prepared, it’s time to gather everything you need to remove the permanent nail polish. To do this, you need pieces of foil, pieces of paper towel or standard cotton pads and nail polish remover. It can even be without acetone.
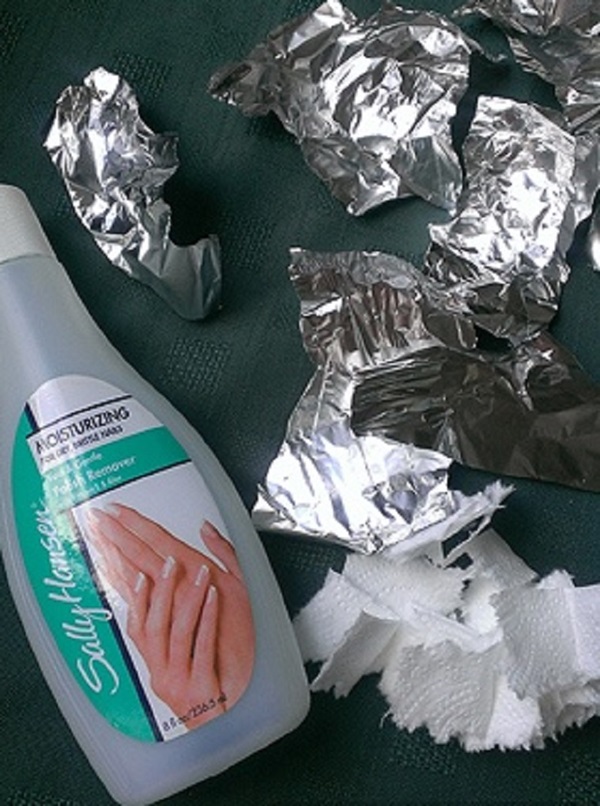 Step 3– Cotton pads or napkins should be soaked in nail polish remover and applied to the nail plate. The foil is tightly attached to the top. You need to wrap it around your entire finger. In order for the product to work accurately, it is important to prevent the impregnated material from slipping. That is why you should not skimp on material. It is better to immediately prepare large pieces that will not slip.
 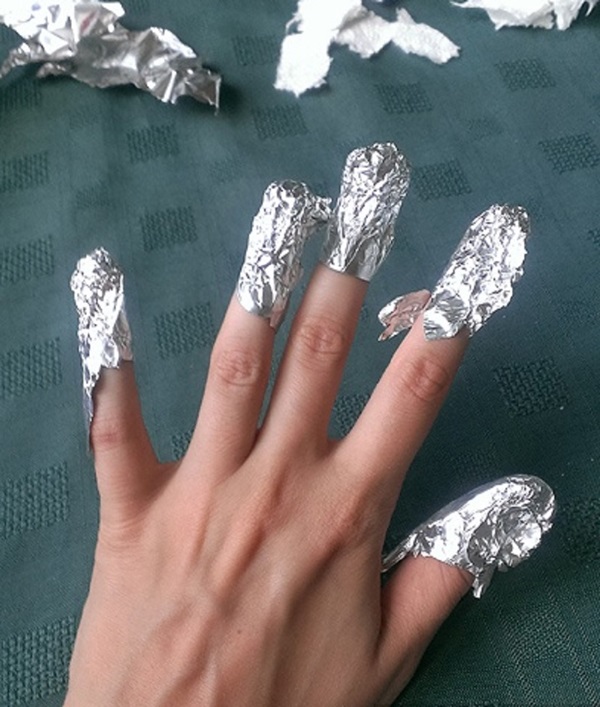 Step 4– Now you need to wait about a quarter of an hour for the shellac to be saturated with this nail polish remover. Then you need to remove the foil and assess the scale of the action. The shellac should come off in places. All that remains is to use an orange stick to free your nails from any remaining shellac. It is easy for her to pry off the gel polish without damaging the native nail plate. But it is important to take into account that the nails will be somewhat uneven, since it is almost impossible to completely remove the base at home, especially since acetone is not used.
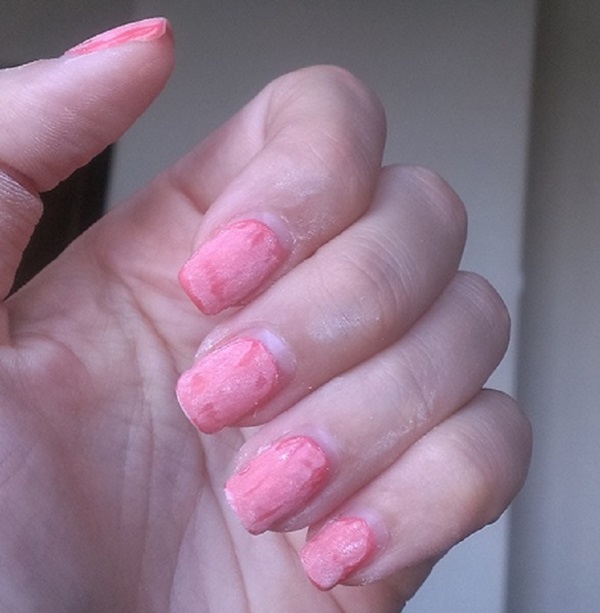
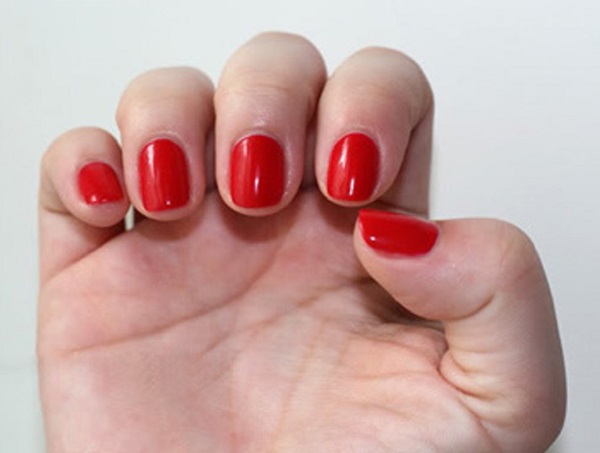
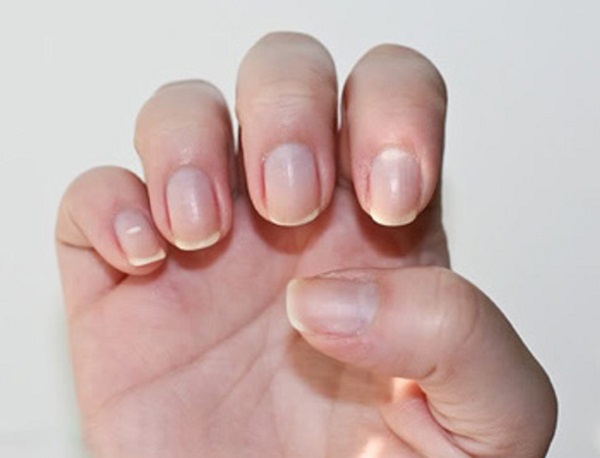
 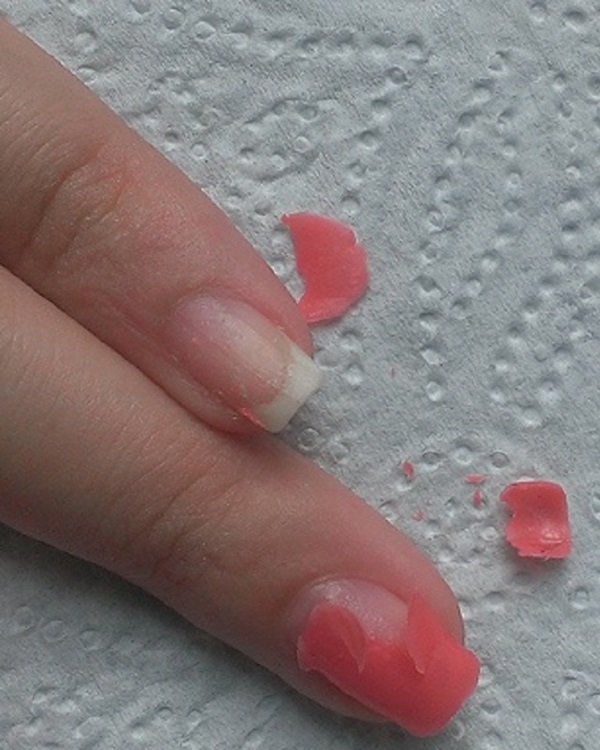 This is what the manicure looks like after removing the shellac.
 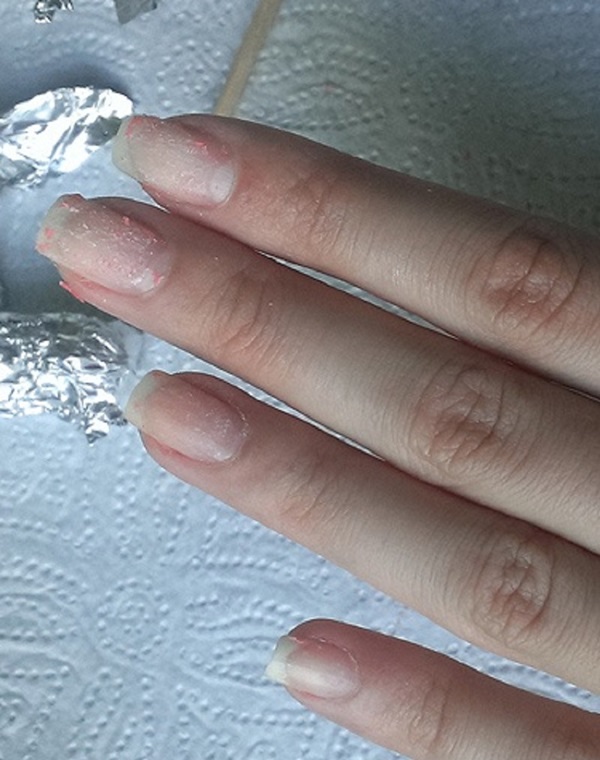 Step 5– Since after removing persistent gel polish the surface of the nails remains uneven, this drawback needs to be eliminated. Nails need to be filed. But it is important to use a tool with suitable abrasiveness. Then the nails are polished with a buff.
 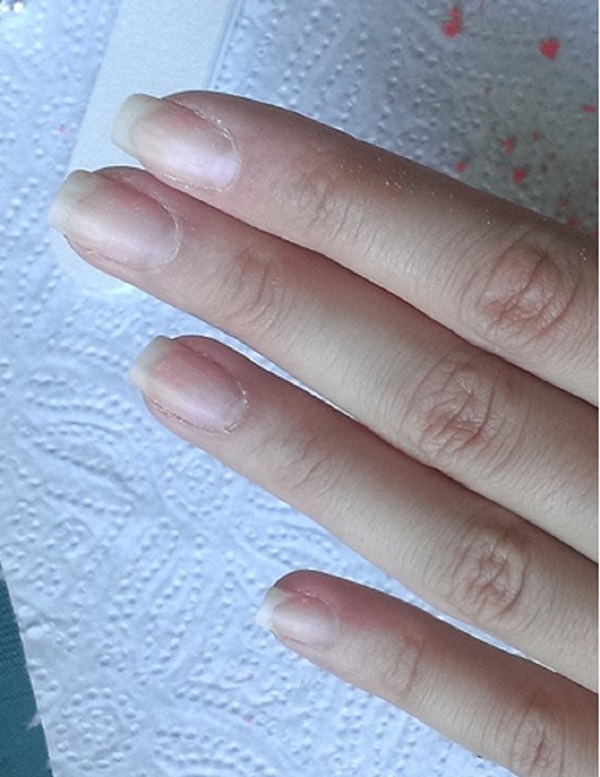 Step 6– All that remains is to lubricate your nails with nourishing oil to quickly restore them after removing the shellac with your own efforts.
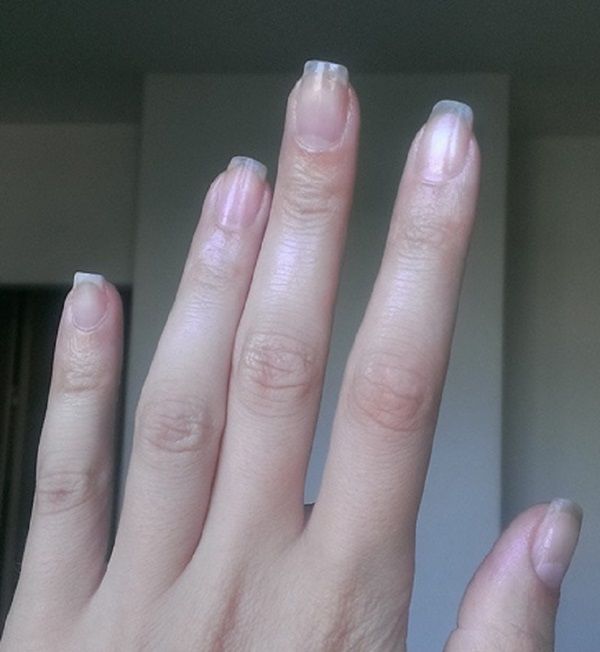
Removing shellac with a special tool
You can also remove shellac at home using a special product. To carry out the procedure you will need to prepare:- polishing file or four-sided buffs;
- special liquid for removing shellac from nails;
- wooden sticks for manicure;
- foil with dimensions approximately 8 x 8 cm;
- cotton pads, cut in half.
On a note! It is not recommended to use acetone to remove gel polish. Acetone dries your nails and hands too much.
Step 1– Hands must be washed thoroughly with soap and dried.
 Step 2– A cotton swab should be moistened with shellac remover. Then the disc is applied to the nail. It is important to ensure that the composition does not get on the cuticle or periungual skin. If the shellac remover has a fairly aggressive composition, it will have a rather negative effect on the condition of the fingers. In some cases, an allergic reaction may be triggered. But it’s worse if the composition leads to skin burns. A piece of foil is wrapped over the cotton pad, preferably wrapping the entire finger.
 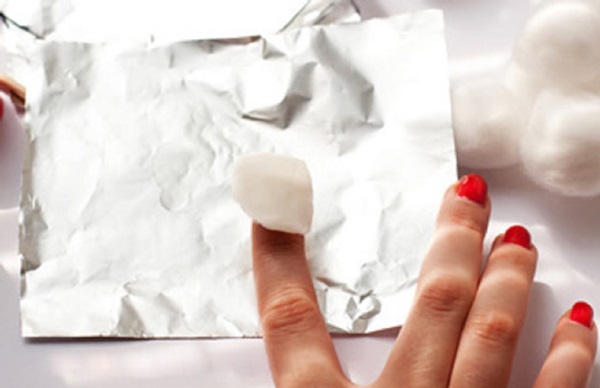 Step 3– This procedure is carried out with each finger. It is necessary to keep your hands wrapped for at least 15-17 minutes.
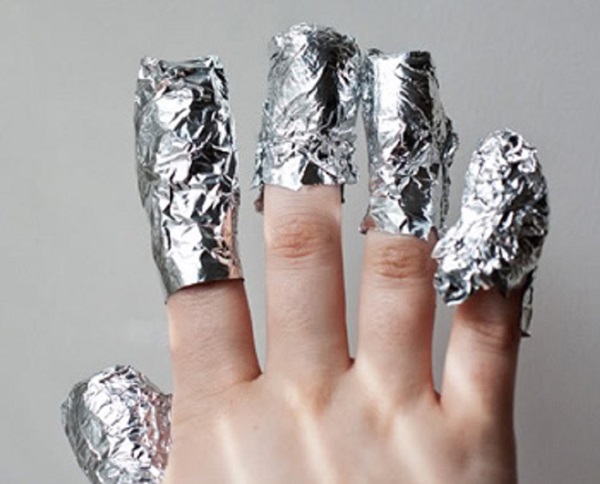
Note! To make the gel polish come off better, massage your fingers a little on top of the foil.Step 4– After the specified time, the foil and cotton wool are removed. The procedure is performed in the same sequence as the product was applied. Do not roughly rip off the windings. You should carefully and carefully pull them off each finger individually. Under the wrapper you can see that the shellac has become very soft. In some places the gel polish comes off quite a lot. Often, after such treatment, gel polish is completely removed without a stick or other tools. If the shellac does not come off in certain places, you should use an orange stick. This is how each nail is processed in turn.
On a note! If somewhere the gel polish has not come off, you will have to use acetone to remove it, which does not have a very good effect on the condition of the skin of your hands.Step 5– All that remains is to complete the manicure procedure. To do this, nails after shellac are buffed and given shape. After polishing, the nails and cuticles are lubricated with oil. This helps restore them faster after shellac removal.
 As you can see, it is quite possible to remove gel polish at home on your own. The main thing is to take your time and take your time. Shellac comes off almost completely on its own, if you follow the technological side of the process. Gel polish is not a death sentence for nails. If you remove the shellac coating correctly, you can literally create a beautiful manicure right away.
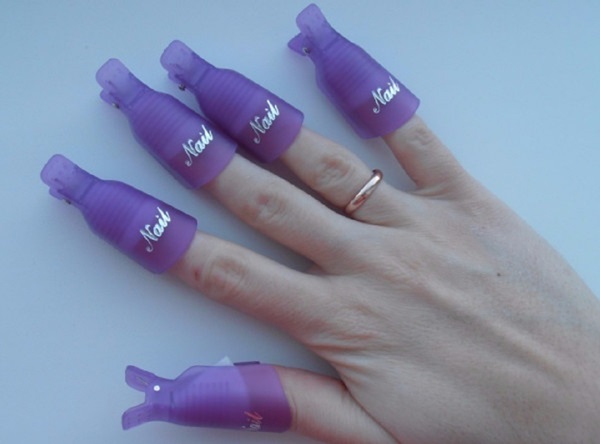
 Note! If there is no foil, it will be convenient to use special clips. They are designed specifically for removing gel polish. In the photo below you can see what such a device is.
Removing shellac using special wipes
You can remove shellac yourself in another way. You can remove the gel polish coating using special wipes. The attractiveness of this method is that the nails are not subject to additional filing. Using special napkins allows you to remove shellac easily, quickly and very conveniently. To carry out the procedure for removing gel polish and putting your manicure in order, you need:- directly the impregnated wipes themselves for removing gel polish from nails;
- spatula for removing coating particles;
- buff (abrasiveness 100/180 grit);
- cuticle and nail oil.
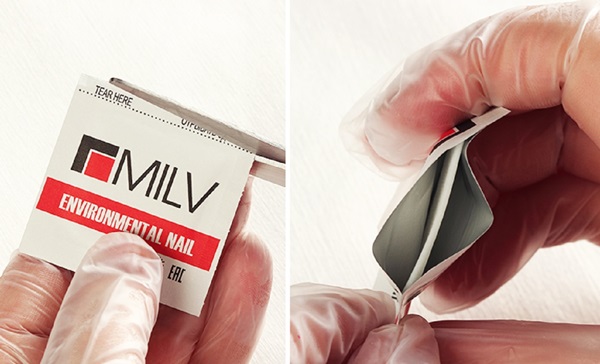 Step 2– The prepared finger is immersed in the pocket, after which you need to remove the adhesive protective tape.
  Step 3– The tape should be tightly secured around the finger with shellac. The same procedure is done with all fingers in turn. You can remove the blanks no earlier than after 15 minutes.
 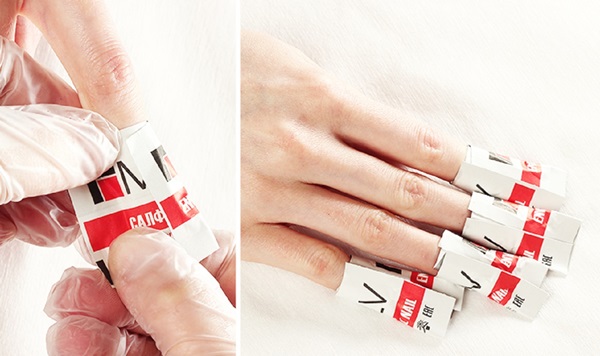 Step 4– At the end of the designated time, you need to take your fingers out of the pockets. As you can see, the coating has almost completely come off. All that remains is to remove the remaining varnish with an orange stick or spatula.
 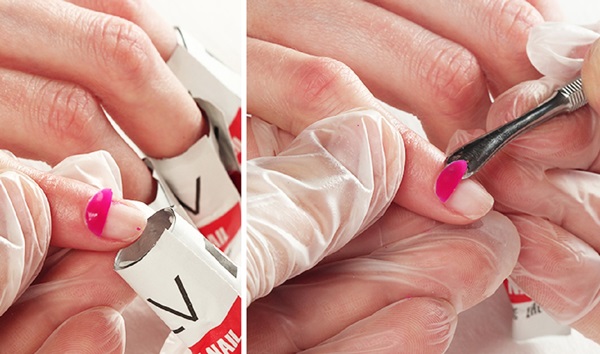 Step 5– At the end of the procedure, you should moisturize the cuticle and rollers with oil.
 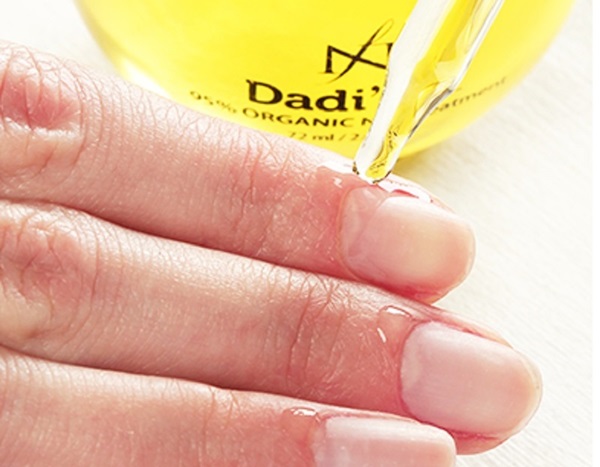 As you can see, special wipes really effectively help remove shellac without the services of a professional. The absence of acetone, alcohol and other aggressive substances in them has a positive effect on the condition of the manicure.