How to use shellac at home
Shellac coating
Covering nails with shellac at home has recently become popular, so instructions for performing this procedure will be given in this article. Carrying out such coating yourself will give you the opportunity to save quite a lot of money and time, because now you will not have to adjust your schedule to the work schedule of the master. The video and photo instructions given in this article will tell you how to properly make shellac yourself.
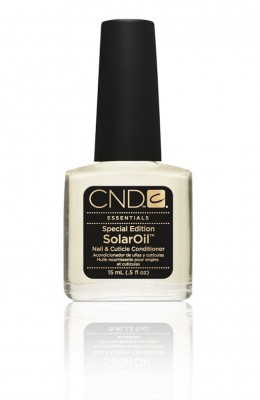
Necessary materials
Necessary materials
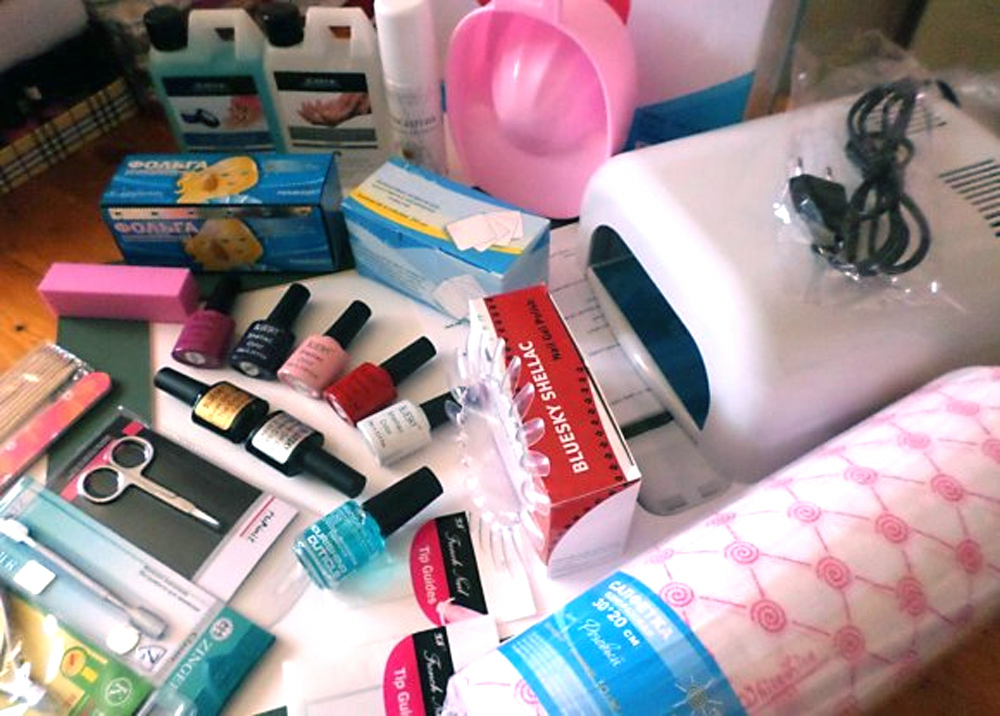
The video explains in detail how to paint with shellac correctly. However, despite the availability of this material and the apparent simplicity of the procedure, the popularity of the salon one does not decrease. Perhaps this is due to the fact that you need quite a lot of equipment to create a beautiful manicure.
If you decide to do this at home and are wondering what you need to apply shellac gel, then below is a list of the necessary products and tools for covering your nails with shellac.
This is a complete list of what is needed to apply shellac and the list is not small. However, without all this you will not be able to get a result comparable to a professional one. However, even when adding up the cost of everything necessary, doing a manicure yourself is much more profitable than in a salon.
Nail preparation
If you already have everything for shellac, then you can get to work. You can learn how to properly do a manicure and apply shellac at home in the instructional video. But preparing your nails before applying is equally important. It consists of carrying out a number of familiar procedures and several specific ones.
We repeat separately, it is better to remove the cuticle as much as possible. The coating lasts quite a long time, and therefore the closer to the edge of the plate you get when painting, the longer the nail growth will not be noticeable. Now your hands are completely prepared. You can move on to how to properly coat your nails and do a manicure with shellac at home.
Application
Application technology
Below we will discuss the technology and technique of shellac in one color. Once you master this process, you will be able to create more complex designs. For example, French manicure is not much more complicated. The application of designs and patterns can also be flawless with a little practice. In addition, it is easy to apply glitter onto such a gel, which will also last a long time and not lose its aesthetics.
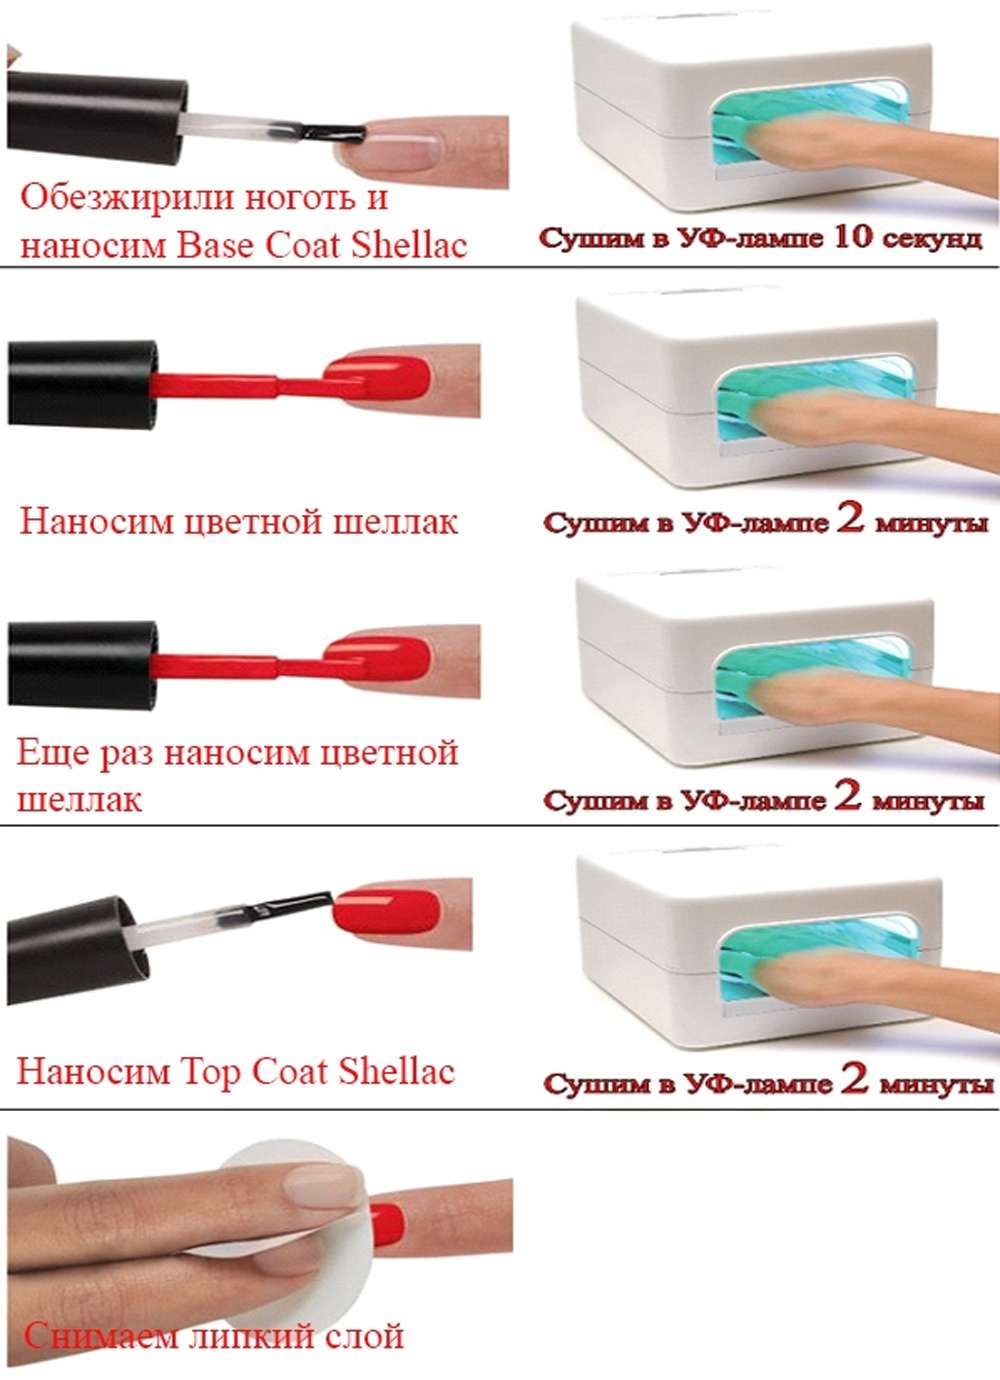
The technique of applying shellac manicure is not so different from painting with regular varnish.
- Apply a brush stroke along one edge of the nail;
- The second stroke is placed along the opposite side of the nail plate;
- The third stroke is applied in the center of the plate;
- Remember that it is important to carefully seal the ends of the nails with the coating.
This application avoids an excessively thick layer of coating, which may wrinkle when drying. The technology for applying shellac nail polish, which is presented in the video, is much more complex, since it requires a large number of materials and devices. The technological process of how to properly make shellac gel at home is described step by step below.
This is a complete answer to the question of how shellac is applied to nails, as well as the rules and technology of application; with a video clip, knowledge can be consolidated visually. You should not expect that on the first try you will get the same result as in the salon. But after several trainings you will already know exactly how to use and work with shellac, and therefore you will get an excellent result.
Secrets from the professionals
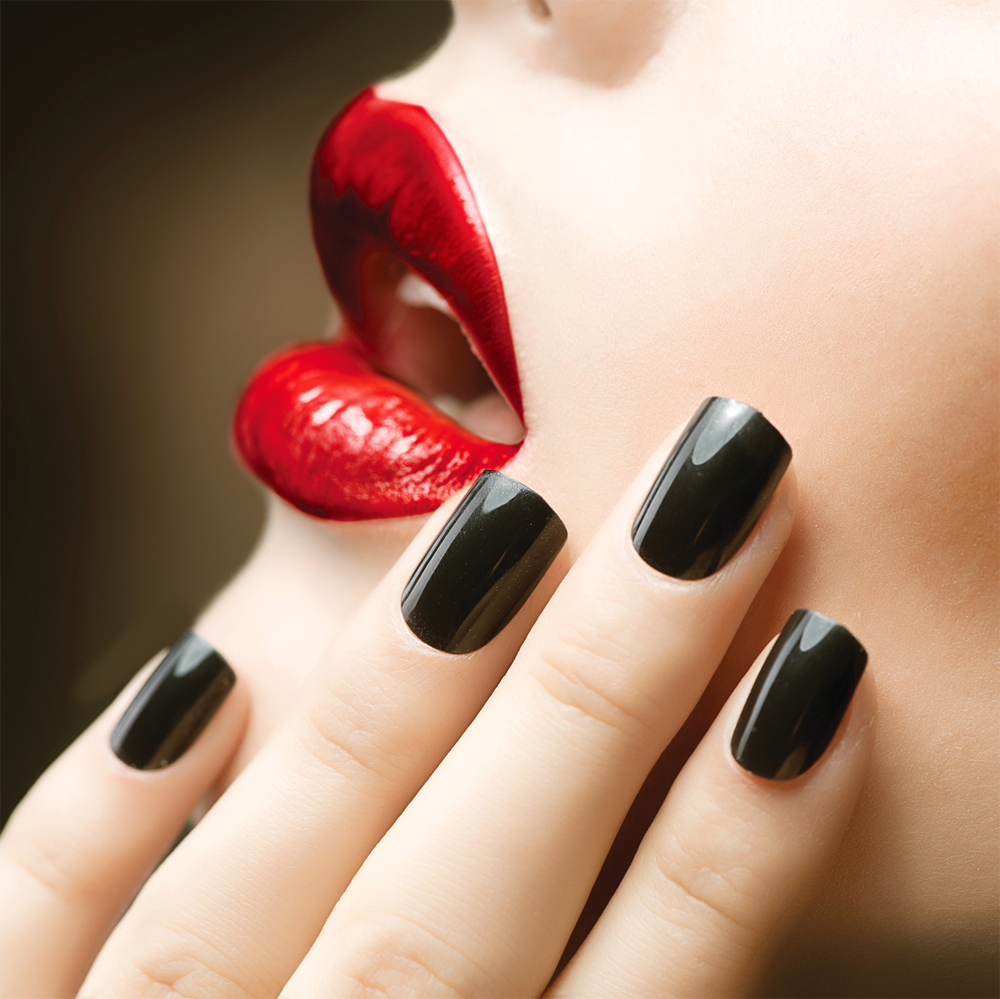
Black gel polish shellac
Often, even when following the instructions completely, the results for beginners leave much to be desired. They may not seem as aesthetically pleasing or less durable. Many training videos only show the sequence and technique of applying shellac varnish, but some secrets are not revealed. And they can often have a decisive influence on the quality of the manicure.
For example, the video does not fully explain how to properly apply glitter to shellac. Everything seems to work out very easily. However, many fashionistas are faced with the fact that lumps form and the radiance is distributed unevenly. After applying the first layer of color, you need to pour a little coating onto the palette and pour glitter into it, stirring constantly with a special thin brush. Apply this mixture as a second layer.
There are also some peculiarities in how to do shellac extensions at home. In terms of technology, it is not much different from standard gel extensions. But there is still a significant difference. There is no need to almost completely file off the nail plate; it only needs to be thoroughly sanded. Thus, your own nails suffer much less.
Shellac in French style
You can apply shellac in a French style at home step by step in the same way as a simple manicure, but using technology for shellac coating, that is, drying under a lamp, etc. The only and important difference is that you cannot use stencils. After drying, they cannot be removed, and if you remove them while the coating is wet, the border will blur.
In any case, we can talk for quite a long time about how to properly apply shellac - nail coating or shellac - extensions. But there are some subtleties that you can only learn in the process of work. In addition, materials from different brands have different specificities.
In conclusion, let’s say that how often shellac gel can be applied depends on the initial condition of the plates. Especially if you do it yourself. After all, despite the fact that you now know what the instructions are for applying shellac at home, your experience is still not enough. Therefore, a violation of the technological process is possible, which will make the harm from such a gel even more noticeable to the nails.