How to remove shellac at home
Shellac is a wonderful durable and glossy coating, long-lasting and gentle. It can be done in a salon, or, with a little preparation and purchasing a certain set of materials, you can do it at home. In the article we will look at how to make shellac at home, what is needed for this and all the pros and cons of the coating.
A little about shellac
Shellac is a special hybrid of nail polish and gel. On the one hand, it must be applied like varnish - with a brush and it has an equally huge range of shades, and on the other hand, it stays on the nails for a long time and a UV lamp is used to dry it. Like varnish, it can also be washed off with a special liquid and not filed off, which protects the nail plate from mechanical damage. This harmlessness and gentle action explains the enduring popularity of shellac. In addition, almost any design can be made with gel polish.

Benefits of coverage
- The product contains no harmful substances, so applying it to your nails is not so harmful. But from time to time it is right to give your nails a break from shellac.
- This coating is also suitable for pregnant women, unless there are too strong hormonal surges, which sometimes leads to rejection of artificial materials. For allergy sufferers, shellac coating is also a wonderful opportunity to make your hands beautiful without harm.
- The coating protects the nails, allowing them to grow quickly. Even if you have never been able to grow your natural nails more than a few millimeters in length, under shellac they will amaze you with the speed of their growth.
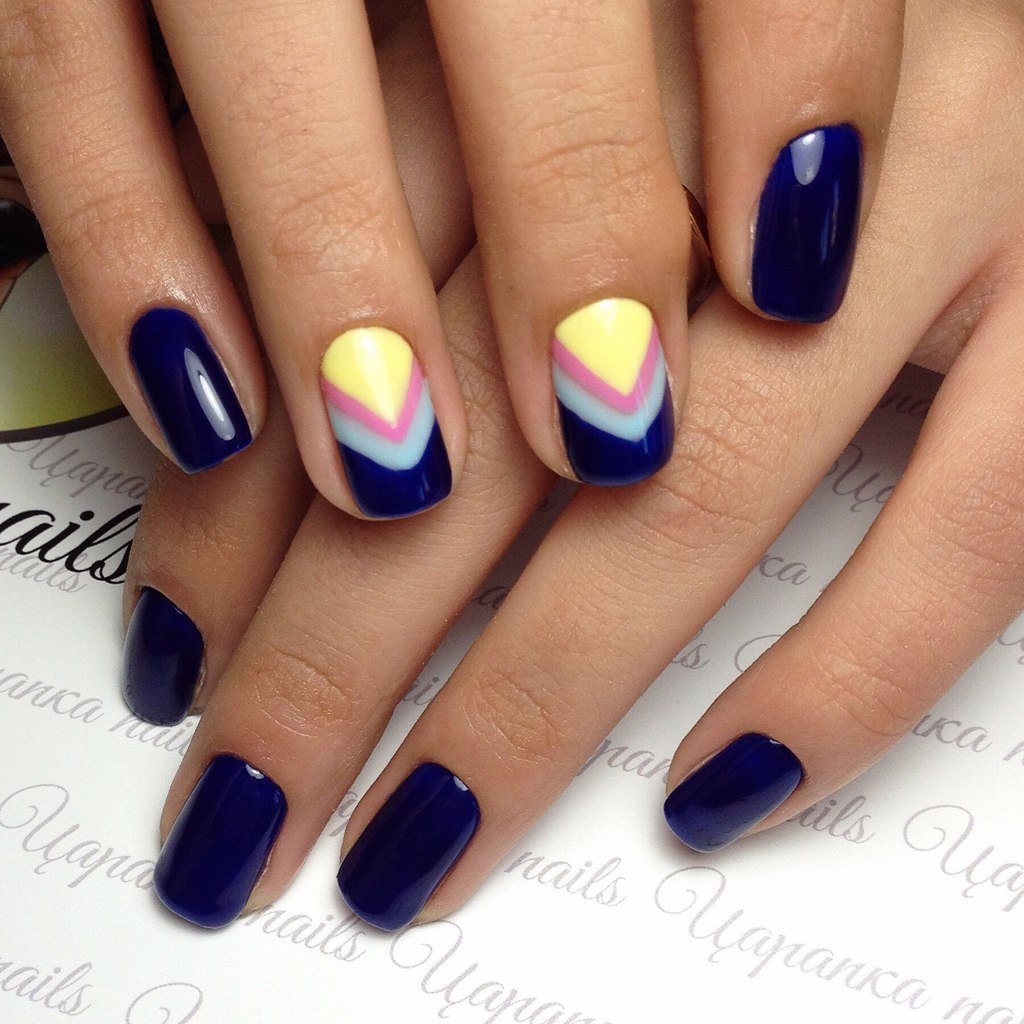
- A huge selection of all kinds of shades will allow you to create any designs on your nails, choose the right coating to match your outfit - in general, it provides a wide field for experimentation.
What you will need
For most women not directly involved in the beauty industry, the issue of purchasing consumables for home shellac coating is always a big mystery. After all, the master has so many things in his salon - especially the means with which the design is made - no amount of money is enough to buy it all for himself. But in order to do a manicure at home, even with shellac, you don’t need to purchase everything that an ordinary manicurist has in a salon. You will do it only for yourself, so buy a small set to suit your taste - several colors of gel polish, one or two files, one small bottle of degreaser and primer, etc. We will tell you in detail and step by step what consumables and equipment You will need to purchase one in order to safely apply shellac to your home.
- The first thing you need to do is purchase an ultraviolet lamp - you can’t do without it. Only in such a lamp can you dry the gel polish coating. For home needs, there is no need to buy expensive LED models; a regular 9 or 3-watt lamp will do.
- A ready-made shellac kit is not the best choice. As a rule, there are few useful components in such kits and they are unprofessional. So, amateur level. Such a set will not provide good, high-quality products. Unless, of course, this is a professional series.
- It is more correct to purchase shellac from one series. While there is no experience, experimenting with different brands and trying to combine their application is a risky business. In addition, you are unlikely to be able to figure out what did not fit and why the coating does not adhere. And applying one series is more professional and the result will be more predictable.
Therefore, we buy a base, several favorite colors and a topcoat from one manufacturer. You can purchase both matte and glossy finishes to diversify your design. It is not necessary to take an expensive and well-promoted brand; you can choose a budget but high-quality brand.
- Degreaser and primer, shellac remover - these liquids are inexpensive and last a very long time.
- Consumables: cotton pads, nail files, orange sticks, nail polish remover. You will also need a soft polisher to remove the greasy layer from the plates and a buff, lint-free wipes, and a variety of designs.
Perhaps this is enough for now, you can start your first manicure. Everything you need is listed here. And if you want to buy additional paints, brushes, dots for painting, glitter, decor and other design materials, you will decide all this step by step, as you delve deeper into the nail topic.
Procedure
Let's take a step-by-step look at how exactly shellac should be applied to your nails at home. Make sure in advance that the lamp and set of consumables are located conveniently and do not interfere with you.
- Wash your hands with soap and dry them.
- Then you need to do an unedged manicure.
- Using a soft buff, lightly walk over the surface of the nail plate, removing the top fatty layer.
- Degrease the nail plates with a special liquid. This is very important, since the presence of a greasy film and insufficient processing are the most common reasons for the coating to peel off. Do everything step by step and without haste.v
- Now the primer is applied in order for better adhesion of the coating to the natural surface.
- The base should be applied to the nails in a thin layer, drying each nail in a lamp. Be sure to thoroughly coat the ends and sides of the nail - this will extend the life of the coating.
- Apply a second, colored layer and also dry. There is no need to seal the plates when applying colored layers.
- If you want to achieve a more saturated color, apply a second coat of color. At this stage you can make a design. Dry everything in a lamp.
- Apply a transparent glossy top coat, the so-called “finish”, and dry. A ready-made shellac kit may not contain a topcoat; be careful, it is required. Sometimes there is a matte finish, it lacks gloss - for some designs it is more suitable.
- Remove the sticky layer, if any, with a degreaser and lubricate the cuticle with oil. That's it - your new shiny manicure and shellac design are ready. How to do it will be written below.
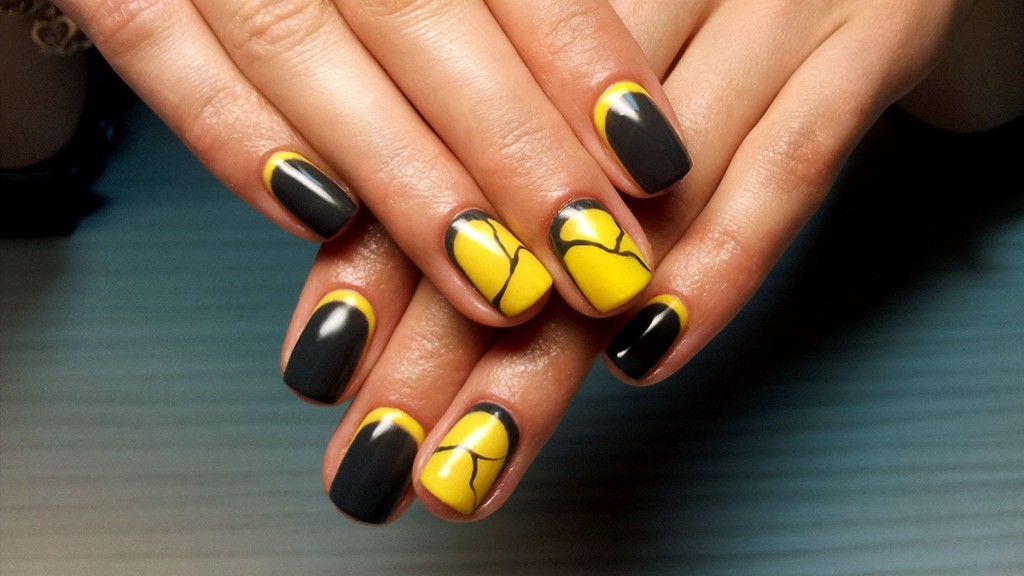
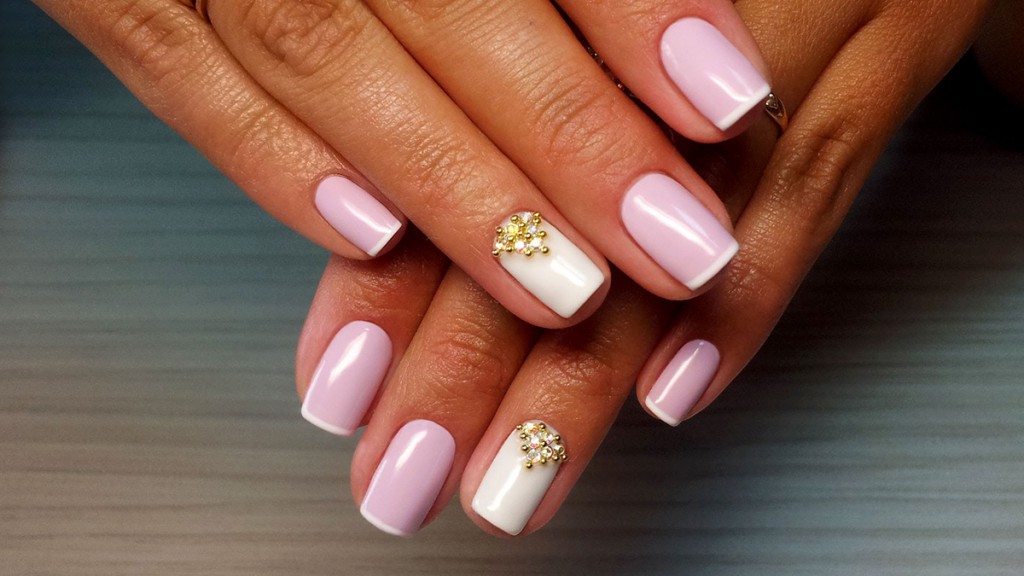
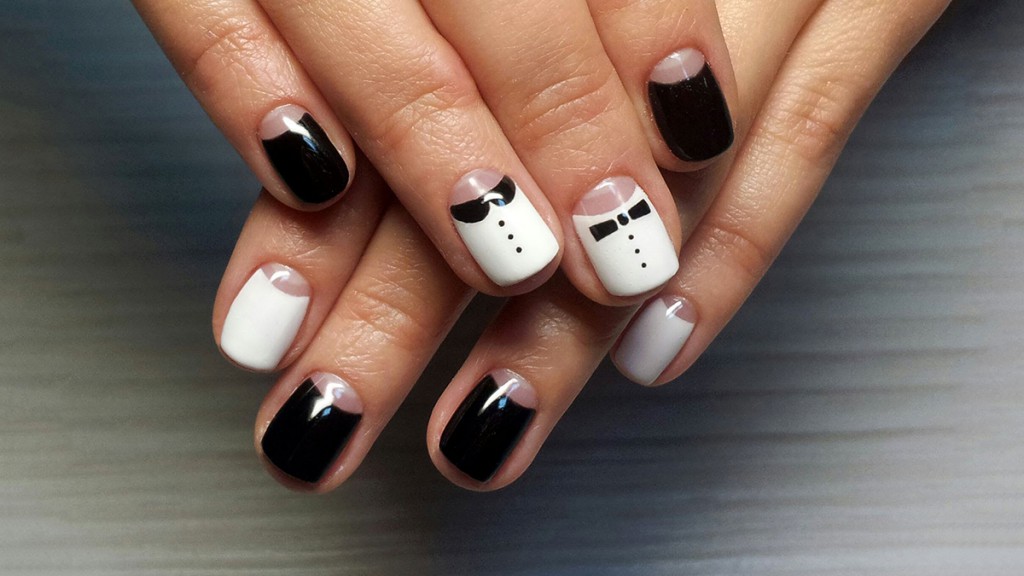
How to make a moon manicure with shellac
This beautiful design is quite popular right now. It can be done with varnish, gel, acrylic, and, of course, shellac. Moreover, when coating with shellac, this case has its own nuances.
- This type of manicure looks most advantageous with oval-shaped nails. But if your shape is not like that, don’t be discouraged - when applied correctly, shellac coating can decorate any nails.
- To beautifully and evenly highlight the hole with contrasting gel polish, you need to use stencils first. Subsequently, when the eye has already been trained, it will be possible to make a hole with a brush. The design should be as smooth as possible.
- Before gluing the stencil strips, remove the sticky layer from the surface of the plate and dry it.
- You can purchase a ready-made kit with the necessary materials for moon and French manicures with shellac. The lamp and consumables will be a separate purchase.
- Do everything step by step, without haste.
How to remove shellac at home
When the required 2 weeks have passed, or maybe earlier, it becomes necessary to get rid of the old coating. How to remove shellac from nails, step by step instructions:
- Prepare a set of cotton pads and regular foil. Each disk should be divided into two to four parts, and the foil should be torn into strips 6-7 cm long and 2-3 cm wide.
- You need to apply gel polish remover to the discs one by one and wrap the nail plate in these “blankets.” The right thing to do is to do this as tightly as possible.
- The instructions then call for covering each plate in foil. This will create the conditions for matte or glossy shellac to be removed from the nails quickly and without residue.
- After all the nails are “packed” in foil, you should wait a little - 5-7 minutes.
- After the allotted time, remove the foil and disks one at a time and scrape off the remaining coating with an orange stick. If everything is done correctly, the coating comes off easily.
- The remaining coating can be removed by lightly walking over the nails with a finely abrasive buff or polisher.
- Degrease the surface and proceed either to applying a new coating or apply a special matte medicinal varnish, and after it dries, rub nail oil into the cuticle.
As with any other decorative procedure, shellac coating also has several pitfalls that you need to be aware of:
- Mandatory adherence to technology is required.
- Keep your nails in the lamp for at least 2 minutes. In less time, shellac may not completely harden, which will lead to detachments. But overexposure is also harmful. Usually the lamps have a 2-minute timer, use it as a guide. A matte finish indicates that the shellac is too dry.
- Make sure to seal the ends properly when applying clear base and topcoat.
- If you feel a burning sensation when drying your nails, it means that the plate is too sensitive to temperature changes. Perhaps she was injured during extensions or the shellac coating was removed without liquid. A coating that is too thick can also cause burning. If you feel such a burning sensation, immediately remove your hand from the lamp, and after 2-3 seconds, put it back in. So, step by step, you will dry your nails better and there will be no discomfort. The lamp itself, by the way, has nothing to do with it.
- Lint-free wipes can be replaced with a regular pharmacy bandage. The point here is that when using napkins and bandages, there will be no lint left on the nails, as when using cotton pads. And the absence of various such fine dirt ensures the best results when working.